Nothing ruins the vibe of pulling into your Driveway quite like that jarring thump as your tires hit a sunken Curb. It’s annoying, sure, but in Ogden, where our winters can be absolutely brutal, a sunken curb is often just the first domino in a line of concrete headaches. Before you know it, you’re looking at drainage issues, tripping hazards, and a driveway that looks like it’s seen better days.
So, Why Is Your Curb Sinking?
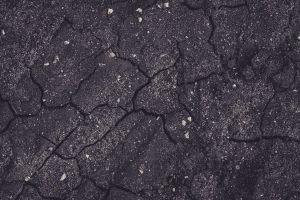
Here’s the thing: concrete doesn’t just decide to move on its own. It’s heavy, rigid stuff. When it moves, it’s usually because the ground underneath it gave up the ghost. In Northern Utah, we deal with a unique mix of soil conditions and a freeze-thaw cycle that feels like a rollercoaster for your pavement.
You know how it goes. Snow melts, water seeps into the cracks, night falls, and that water freezes. Ice expands, pushing the soil around, and when it melts again, it leaves a void. Soil erosion is the silent killer of concrete stability. Over time, those little voids turn into big gaps, and gravity does the rest. Your heavy concrete curb has nowhere to go but down.
It’s frustrating, right? You look at it and think, “I have a garage full of tools. Surely I can fix this myself.” And honestly? Maybe you can. But it depends entirely on how bad the sinkage is and how much back-breaking labor you’re willing to endure.
The “Band-Aid” Approach: Patching the Surface
If the sinking is minor—we’re talking less than an inch—you might not need to lift the slab at all. You might just need to smooth out the transition. This is the most common DIY route because it’s cheap and you can get everything you need at the local hardware store.
What You’ll Need
- A stiff wire brush
- Concrete bonding adhesive
- Vinyl concrete patcher or a sand-mix concrete
- A trowel
- Gloves (concrete burns are no joke)
How to Do It
First, you have to clean the area like your life depends on it. Any oil, moss, or loose debris will make your new patch pop right off the second a car drives over it. Scrub it down. Then, apply the bonding adhesive. This stuff acts like glue; without it, new concrete hates sticking to old concrete.
Mix up your patcher. You want a consistency like peanut butter—thick enough to hold its shape but spreadable. Trowel it into the low spot, feathering the edges so it blends with the existing curb.
Here’s the catch: It’s never going to match perfectly. Old concrete has a weathered, gray look. New patch material looks bright and clean. It’ll function, but it might look like a scar. Also, keep in mind this doesn’t fix the problem underneath. The soil is still soft, and the curb is likely still sinking. This buys you time, not a permanent solution.
The “Heavy Lift” Approach: Pry Bars and Gravel
Okay, let’s say you’re feeling ambitious. You don’t want to patch it; you want to lift it. If the section of the curb is small and detached from the driveway, you might be able to muscle it back into place.
Be warned: this is where people get hurt. Concrete weighs about 145 pounds per cubic foot. A small section of curb can easily weigh several hundred pounds.
The Strategy
- Dig It Out: You’ll need to dig out the soil underneath the sunken edge to create space.
- The Leverage: Using a long pry bar (and a fulcrum, like a rock or block of wood), you try to lever the slab up.
- The Fill: While you—or a very trusting friend—hold the slab up with the bar, you pack gravel or sand underneath it to hold the new height.
Sounds simple, doesn’t it? But here is where physics gets mean.
Getting enough gravel packed tightly enough to support the weight of the concrete and a vehicle is nearly impossible with hand tools. The moment you let the slab down, it usually settles again, often unevenly. Plus, prying on concrete creates stress points. It is incredibly common to hear a loud crack and realize you’ve just snapped your curb in half. Now you have two sinking pieces instead of one.
Why Not Just Replace It?
You might be thinking, “Forget lifting. I’ll just sledgehammer it out and pour a new one.”
That is certainly an option. But have you checked the price of concrete lately? Or the cost of disposal? Hauling away busted concrete is expensive because of the weight fees at the dump.
Plus, pouring new concrete requires building forms, mixing bags (or calling a truck), finishing the surface, and keeping kids and neighborhood cats off it while it cures. It’s a multi-day project that requires decent weather—something Ogden doesn’t always provide. And again, if you don’t compact the soil underneath properly, the new curb is going to sink just like the old one did.
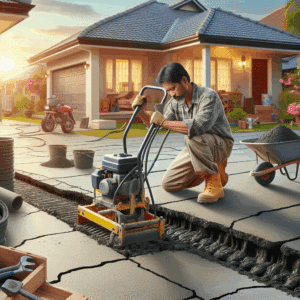
The Pro Methods: Mudjacking vs. Polyjacking
If you start researching professional lifting, you’re going to run into two main terms: Mudjacking and Polyjacking. It’s important to know the difference because they aren’t created equal.
Mudjacking (The Old School Way)
This involves drilling relatively large holes (about the size of a soda can top) into the concrete. The crew pumps a slurry of water, dirt, and cement underneath. It fills the void and lifts the slab.
- Pros: It works.
- Cons: It’s messy. The holes are ugly. And most importantly, the material they pump in is heavy. If your curb sank because the soil was soft, adding thousands of pounds of wet mud on top of that soft soil often causes it to sink again a few years later.
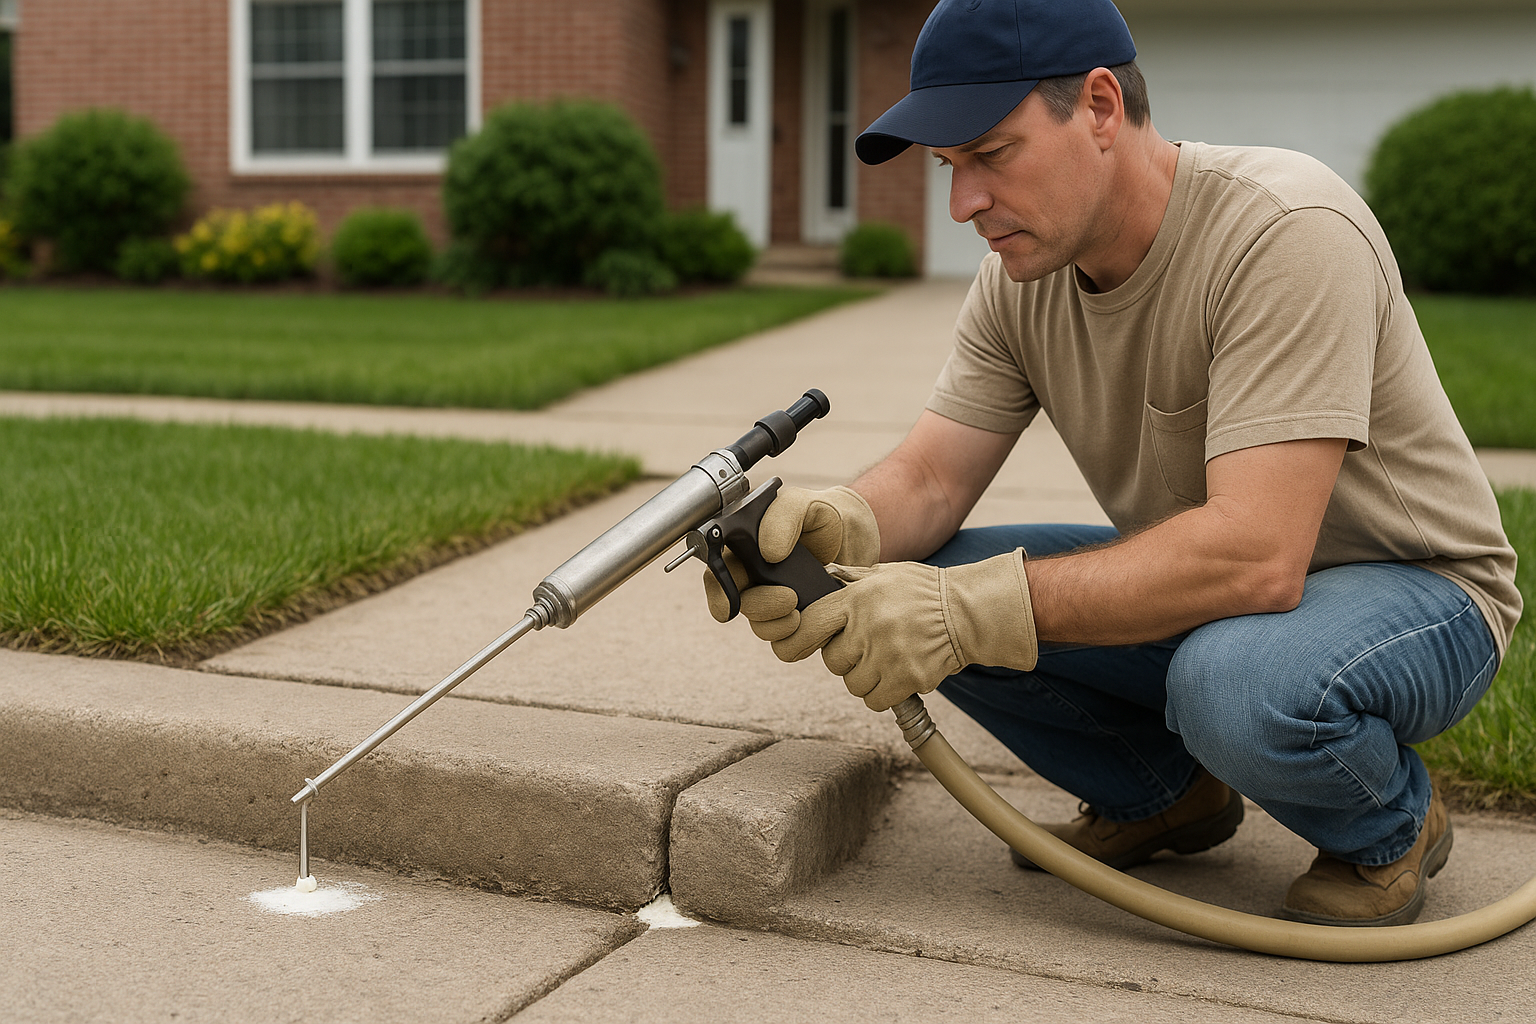
Polyjacking (The Mud Dog Way)
This is what we specialize in. We drill tiny holes—penny-sized—and inject a high-density structural polyurethane foam.
- The Magic: The foam expands to fill every nook and cranny of the void below.
- The Weight: It’s incredibly lightweight. It lifts the concrete without burdening the soil.
- The Cure Time: You can drive on it almost immediately.
Can you DIY Polyjacking? Honestly, no. The equipment involves heated hoses, specialized reactors, and chemical components that need to be mixed at precise ratios and pressures. It’s industrial stuff, not something you pick up in a spray can at the hardware store.
Maintenance: The Best DIY You Can Do
If you really want to get your hands dirty and help your concrete, the best thing you can do is preventative maintenance. Stop the sinking before it starts or gets worse.
Water is the enemy. Your goal is to keep water from getting under that slab.
Caulking and Sealing
Walk along your curb. Do you see that gap where the curb meets the driveway or the street? That is a superhighway for water. Every time it rains or the snow melts, water pours down that crack, washing away the dirt that holds your concrete up.
- Clean the crack: Use a wire brush or an angle grinder to get the gunk out.
- Backer Rod: If the crack is deep, stuff a foam “backer rod” in there. It saves you from using ten tubes of caulk.
- Self-Leveling Sealant: For flat areas, use a self-leveling concrete sealant. It flows out like honey and seals the gap perfectly.
- Non-Sag Sealant: For the vertical parts of the curb, use a non-sag sealant so it stays put.
Doing this once a year can extend the life of your concrete by decades. It’s cheap, easy, and actually effective.
Comparison: DIY vs. Professional Lifting
Sometimes it helps to see it laid out. Let’s look at the breakdown of trying to fix a sunken curb yourself versus getting it lifted professionally.
| Feature | DIY Patch/Pry | Professional Polyjacking |
|---|---|---|
| Cost | Low ($50 – $100) | Moderate (varies by job size) |
| Effort | High (Heavy lifting, mixing) | Zero (You watch us work) |
| Appearance | Mismatched patches | Clean, tiny holes |
| Longevity | 1-2 Years | Indefinite |
| Risk | High (Injury or cracking slab) | None |
The Hidden Risks of DIY Levelling
I feel like I need to mention the drainage issue again because it’s a big deal in Ogden. Curbs are designed to channel water to the storm drains. If you lift a curb incorrectly and change the pitch, you might accidentally send that water pooling into your yard—or worse, toward your foundation.
Water in your basement is a much more expensive problem than a sunken curb.
Professionals use levels and laser transit tools to ensure the pitch is correct. When you’re prying up a slab with a crowbar and shoving gravel underneath, you are essentially guessing. You might fix the tripping hazard but create a water trap.
Also, consider the integrity of the slab. Concrete is strong under compression (being squished), but it’s weak under tension (being bent). When you lift one corner of a slab, you are bending it. Without the even pressure that expanding foam provides, the likelihood of snapping the slab is high. Once it’s cracked, there is no un-cracking it.
So, Can You Fix It Yourself?
Technically? Yes. You can patch it to hide the drop, or you can risk your back trying to lever it up. But for most homeowners, the frustration, the poor aesthetic result, and the temporary nature of the fix just aren’t worth the Saturday afternoon lost.
There is a time and place for DIY. Building a deck? Go for it. Painting the living room? Have fun. But lifting thousands of pounds of concrete requires tools and materials that just aren’t available in the consumer aisle.
If your curb is settling, it’s usually a sign of a deeper issue with the soil. Patching the top is like painting over a crack in the windshield; the structural integrity is still compromised.
When to Call in the Cavalry
If you notice the slab is rocking when you drive over it, or if the drop is more than half an inch, it’s time to look at professional options. You want a fix that stabilizes the soil so you aren’t doing this again next year. You want polyjacking. It’s cleaner, faster, and because we are local to Ogden, we know exactly what kind of soil shifts we are dealing with.
Don’t risk blowing out your back or cracking your driveway to save a few bucks that you’ll end up spending anyway when the patch fails.
Let us handle the heavy lifting. We can usually have the job done in a couple of hours, leaving you with a level curb and zero mess.